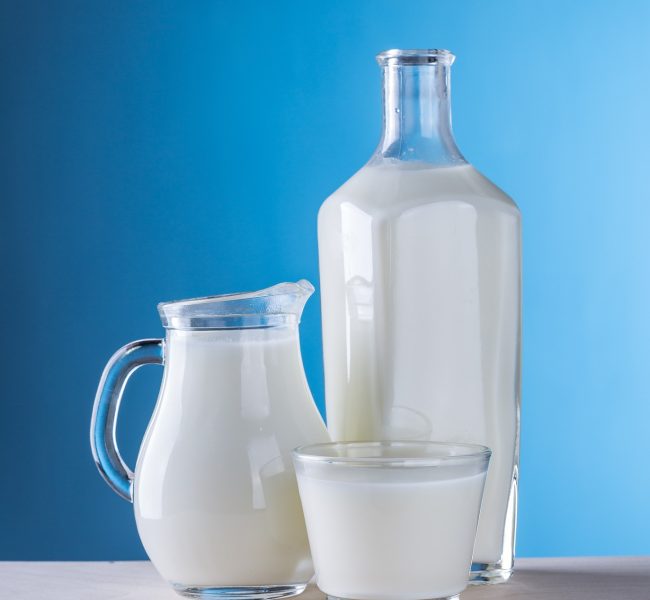
Home-made Kefir

As it’s well known, Kefir is one of the healthiest probiotics as it contains 12 live active cultures unlike yogurt, which contains only several cultures depending on the brand you buy. It is also high in protein, calcium, and Vitamin D.
I personally like to make my own plain Kefir at home as I can control the milk’s fermentation process (particularly the fermentation duration), and hence, the tartness of the end product. Plus, if you are like me who likes to enjoy Kefir every day, consuming only store-bought Kefir may get expensive. Hence, this recipe is also a great tip on how to save money on Kefir. I buy 1 gallon of organic milk that costs me around $6.79, and the 32-fl oz bottle of organic Lifeway Kefir that costs me ~ $5.49 (unless it’s on sale) would last me numerous batches of home-made Kefir.
I usually buy this O Organics organic whole milk from Safeway, and this Lifeway Kefir from Whole Foods through Amazon Fresh.
I find the Lifeway Kefir a little too tart for my taste but using it as a starter is a great option. As some people prefer to use Kefir grains or Kefir starter to make home-made Kefir, I use the store-bought Lifeway Kefir as it works as well. I have tried Trader Joe’s brand as well but the end product did not turn out well. In case you are wondering where you can buy Kefir grains, it’s available here on Amazon.
The recipe is really simple. You do not need any special equipment like the one for making yogurt at home. The following recipe is for aerobic fermentation of the milk.
Here are the easy steps:
- In an 8-cup container, add 12 tablespoons of store-bought Lifeway Kefir. I prefer whole-milk Kefir and whole milk as the end product is very creamy but it is a personal preference.
- Then add organic milk to the Lifeway Kefir you just added until you fill the container (~55 fl oz of milk).
- Let the container sit at room temperature (RT) for ~24 hrs assuming that the temperature stays constant during this entire time. I don’t close the container as my method is aerobic fermentation meaning it needs oxygen. Anaerobic fermentation of the milk may be an alternate method but I have not tested my recipe under those conditions.
*Note: make sure that you check the consistency of the end product earlier than 24 hrs as variations in temperature may speed up or delay the fermentation process. If after 24 hrs, it did not reach your desired tartness and consistency, continue to keep it at RT while checking it regularly.
- Once it reaches your desired outcome, cover the container with a lid, and store in the fridge. Let it cool for a while, and enjoy the creamy home-made probiotic!
Disclaimer: I have not tested the end product to check if all the live cultures from the starter were propagated to my end product. However, I enjoy it, and I am happy with the outcome.
